As it’s February it seems fitting that I’ve just fallen in love. In my case it’s with a brand new (to me) method of printmaking, known as Collagraph.
Collagraph was first named as such in the late 1950s by artist Glen Alps and recently it seems to have become a very popular method of printmaking as the basic materials are easy to obtain and are not terribly expensive and it can produce some wonderful results.
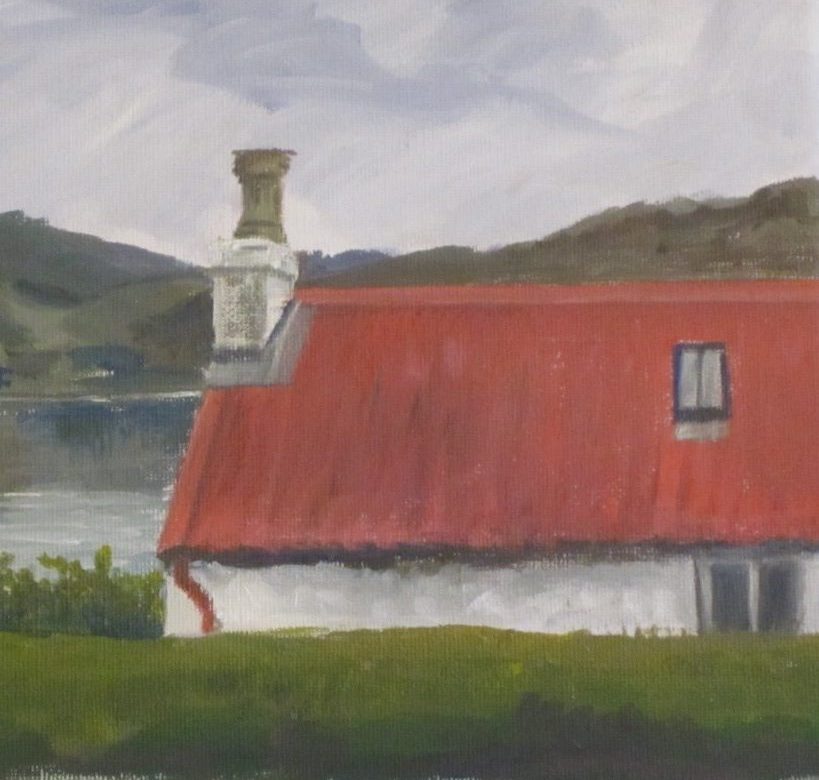
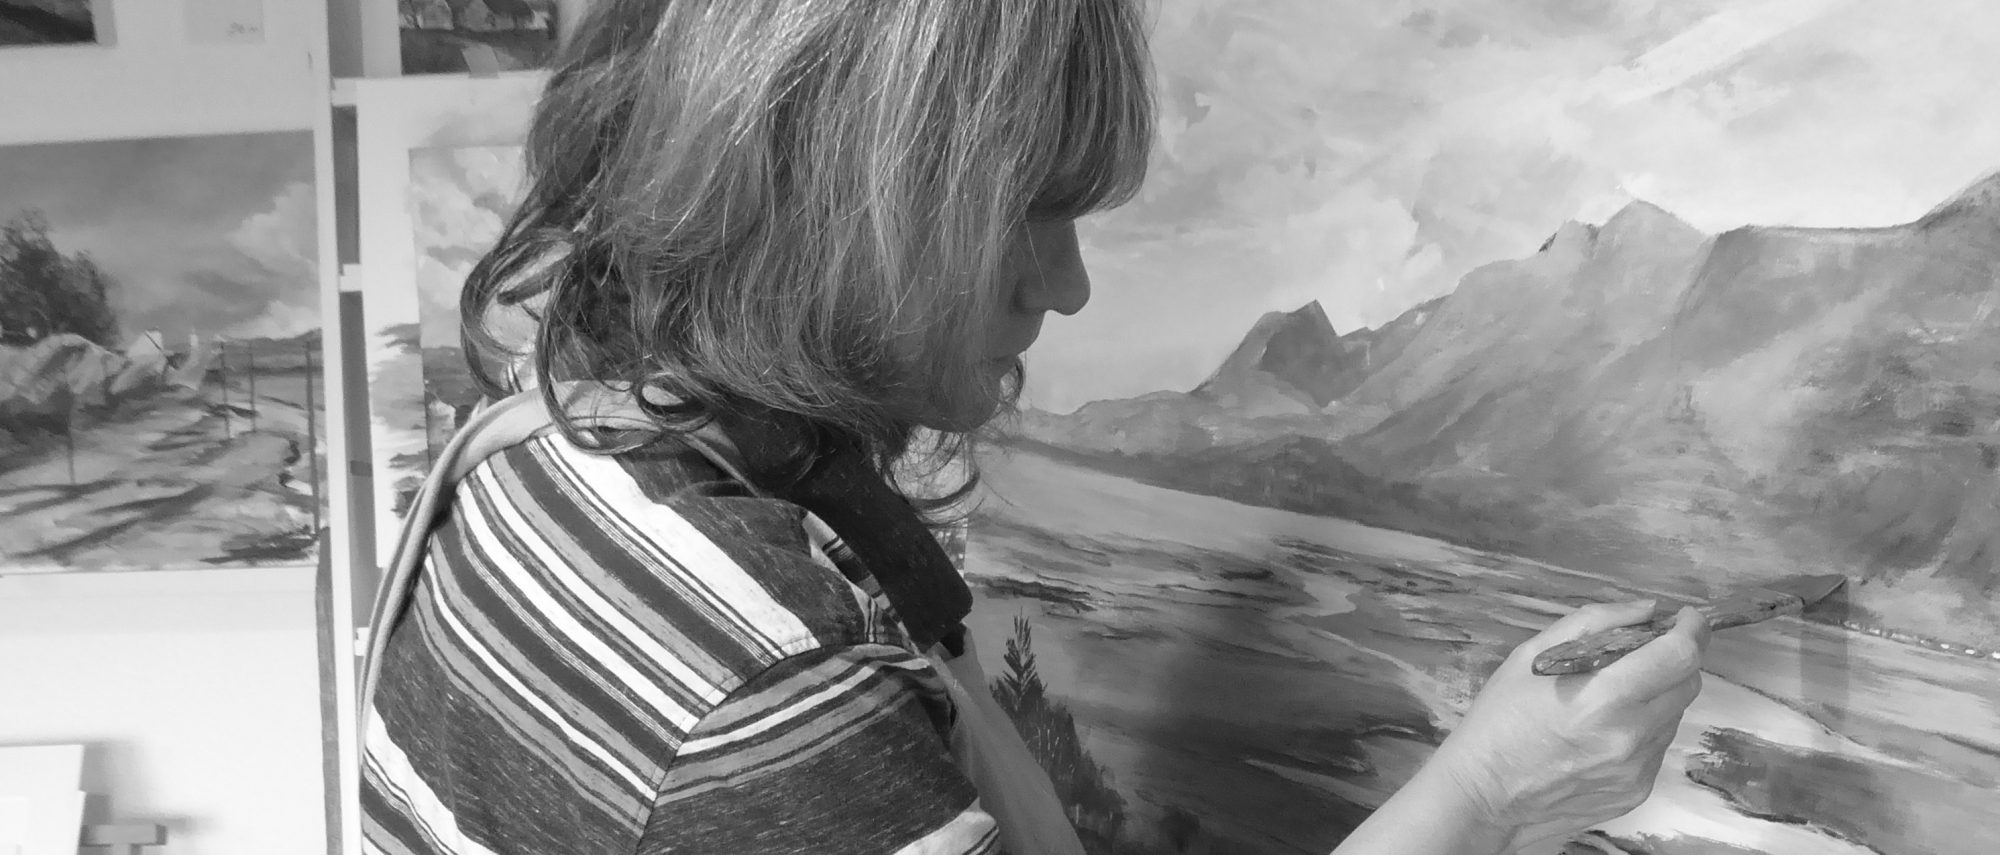
As an introduction to collagraph, we were lucky enough at Lochcarron Gallery to be able to host 2 day-long workshops with artist printmaker Suzie MacKenzie. I first came across Suzie’s work at the Nairn Open Exhibition in 2016, where she won First Prize for her print ‘The estuary, summer evening’ and loved it. So I was very pleased when she agreed to exhibit at the gallery and even more delighted when she agreed to run a workshop for us.
Suzie has a very interesting and detailed blog on the collagraph method at Jackson’s Art, so I made sure to read that before the first workshop. There was a very thorough explaination and lots of hints and tips.
The first thing she did at the workshop was show us some of her art, and, as you can see from the images below, the plates are as beautiful as the prints themselves and very tactile too:

After reading Suzie’s blog I had set aside some sketches that I thought might make good prints. I took photos of several sketches and then uploaded them to my computer, I changed the photos from colour to black and white ‘tonal’ photographs and, flipped them so that they were backwards or mirror images and then printed them out. It was then very easy to trace directly onto the card which would become my printing plate for each image.


The card that we were using was mountboard, offcuts left over from framing and the print technique was intaglio rather than relief. The aim is to create a variety of textures on the card, which would hold the ink during the printing process. Though Suzie also showed us some collagraphs that she had printed using the relief method and I definitely have plans to give that a try in the near future.
Suzie suggested using carbon paper to transfer the image from the reversed printout, tracing along the lines of the printed out drawing. The photographs above show the original sketches and the copied, reversed, black and white images.


The next step was to try and recreate the image taken from my original drawings. The photos above show the three plates that I created.
The first and second images show a combination of markmaking. On my first two plates I used stickyback plastic, glue, a selection of different papers and various tools to make cuts and lines in the card and to peel back sections of the surface layer of the card. Tools included an exacto knife, some embossing tools and even a biro to make the marks.
The third plate I kept very simple, using only drawn lines. For this plate I didn’t glue any paper or card to the surface, though I did peal back the surface in some areas and used PVA glue to draw some clouds and to highlight the house which I had drawn on the plate and which I wanted to leave white.
When the plates were ready I painted them with a mix of PVA and water, which was approximately the constistancy of double cream. Then, when the glue was dry the plates were sealed with a coat of spray polyurethane varnish.
The next step was to ink the plates. This was done using an oil based printing ink. Once the ink was applied the plate was wiped using scrim and newspaper and the plate was placed the bed of a printing press and printed on pre-dampened paper.


The photos above show the prints that were produced from my plates. The colour was added seperately using inks and Chine-collé (a method of applying a light-weight paper to the final print, which I will cover in more detail in a future blog).

I was pretty pleased with my first print, many of my marks had come out clearly and the places that I wanted to remain lighter had indeed stayed lighter. I did over-clean the plate in some areas and I think that some of the marks could have been deeper. But all in all, not a bad first effort for a new technique.

The second plate (above) was much more experimental. I used a variety of mark making techniques and applied colour using inks (in the top print), which were applied to the surface of the paper and Chine-collé (in the bottom print) whereby paper is placed over the plate and fuses to the print during the printing process.


The third plate was less successful. Whilst some of the marks were effective, some were less so and when applying the Chine-collé i used too much glue, which ended up sticking the paper to the plate and damaging both the print and the plate itself. But, while the print itself was not a complete success, I learned a lot in processing this plate, about markmaking and about having a delicate touch and the right glue for Chine-collé (photomount glue or carefully applied glue stick and not PVA!)
However, despite a few setbacks and a steep learning curve I enjoyed every part of the process. I’m now a total convert to Collagraph printmaking and have already started another plate for printing soon. I’ll keep you posted on my progress.


Thanks so much to Suzie for the encouragement and the inspiration. Please do check out her website for more information about her and her art.
